Google Forms, a powerful and often overlooked tool within Google Workspace, is a free application that enables you to collect information with surveys, questionnaires, and feedback forms. It’s easy to use and only requires a Google Account to get started. You can also create and edit surveys online while collaborating with other users in real-time.
Google Forms allows you to create different types of questions. Therefore, you can create a Google Form for the following purposes:
- Online registration for event participants
- Order Management
- Voting
- Questionnaire for job applicants
- IT Security and Compliance Assessments
- Online research
- Project brief
- Customer feedback
- Employee appraisal
- And, many more
Why Should You Use Google Forms?
Google Forms offers a host of benefits to Google Workspace users. Here are some of them:
- Convenience: Send one form to all users and receive consolidated responses automatically
- Customization: Quickly and easily add your corporate logos and unique branding designs to stand out and represent your organization
- Accessibility: The form is stored on Google Drive, so you can work with it on different devices and can give access to others for easy collaboration
- Responsiveness: Create, preview, and edit a form on multiple devices like mobile devices and tablets without loss of any functionality
- Access to responses: Automatic storage of responses in Google Sheets
How to Get Started With Google Forms
To create a Google Form, you need to create a Google account or log in to your existing account.
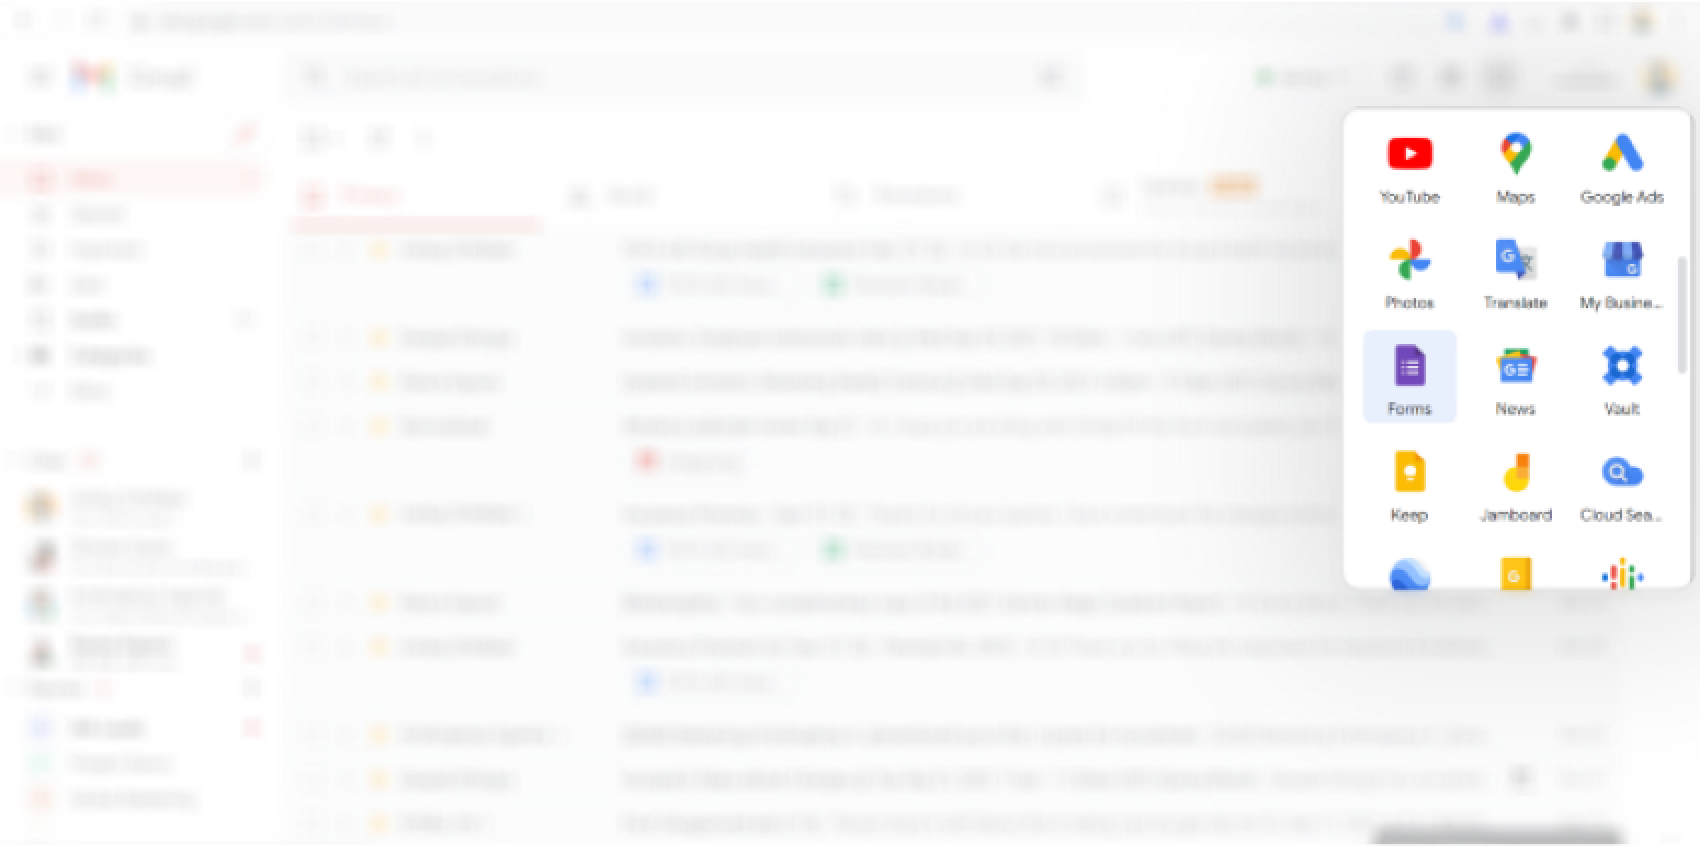
1. Go to Gmail and click the Google Apps icon and select Forms.
2. Choose a ready template or blank form to create a form from scratch.
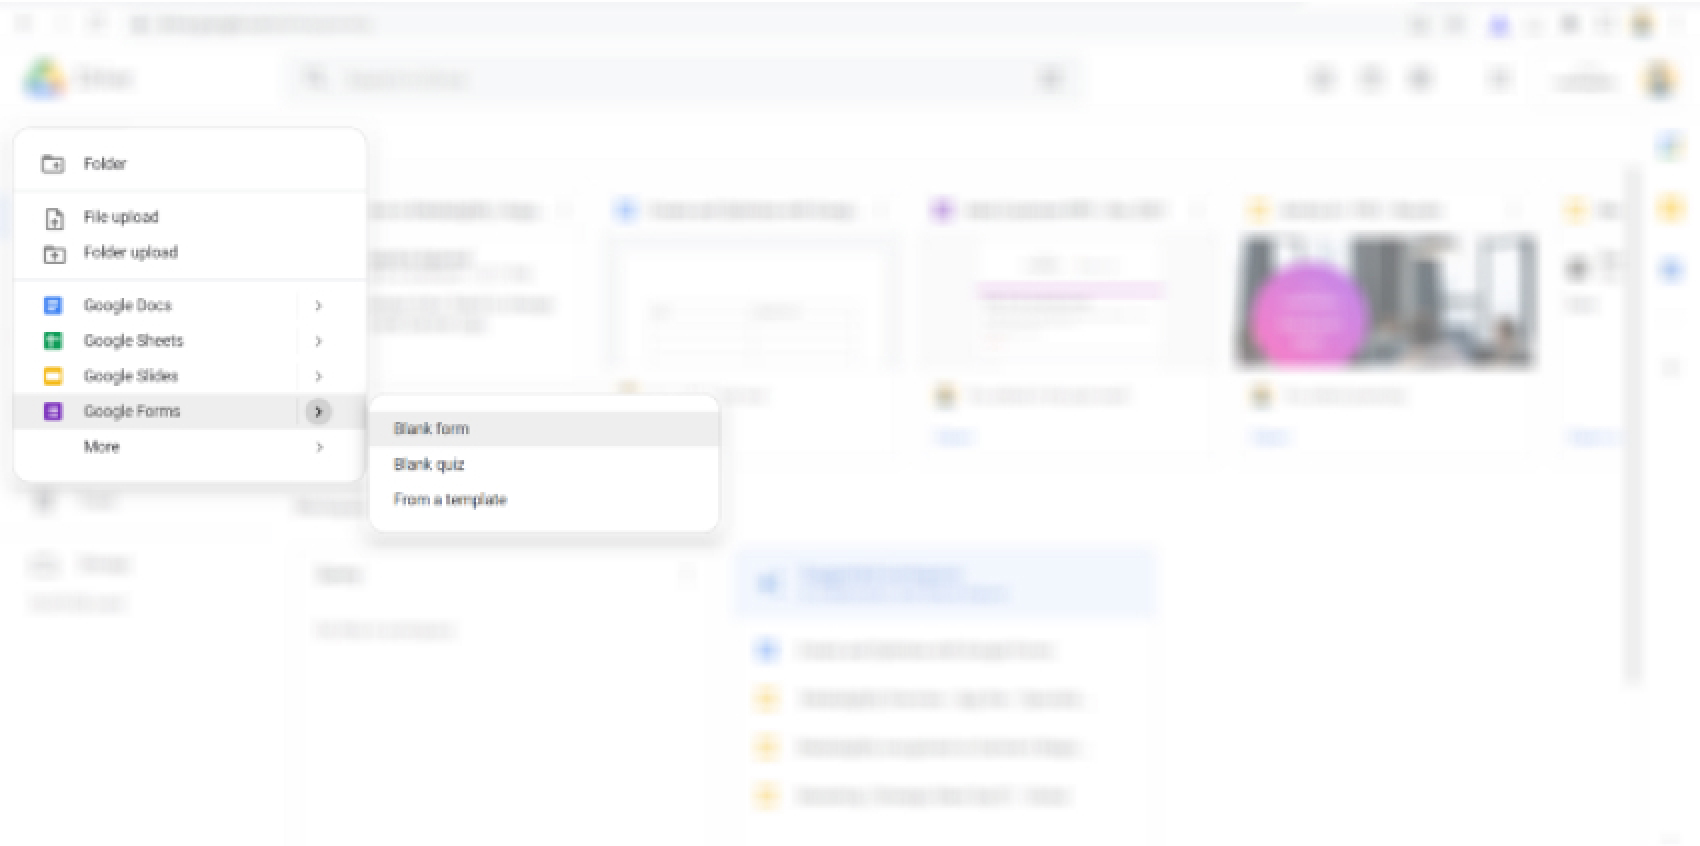
3. You can also open a Google Form via Google Drive. Just go to Google Drive, click New, choose Google Forms, and choose a template or blank form.
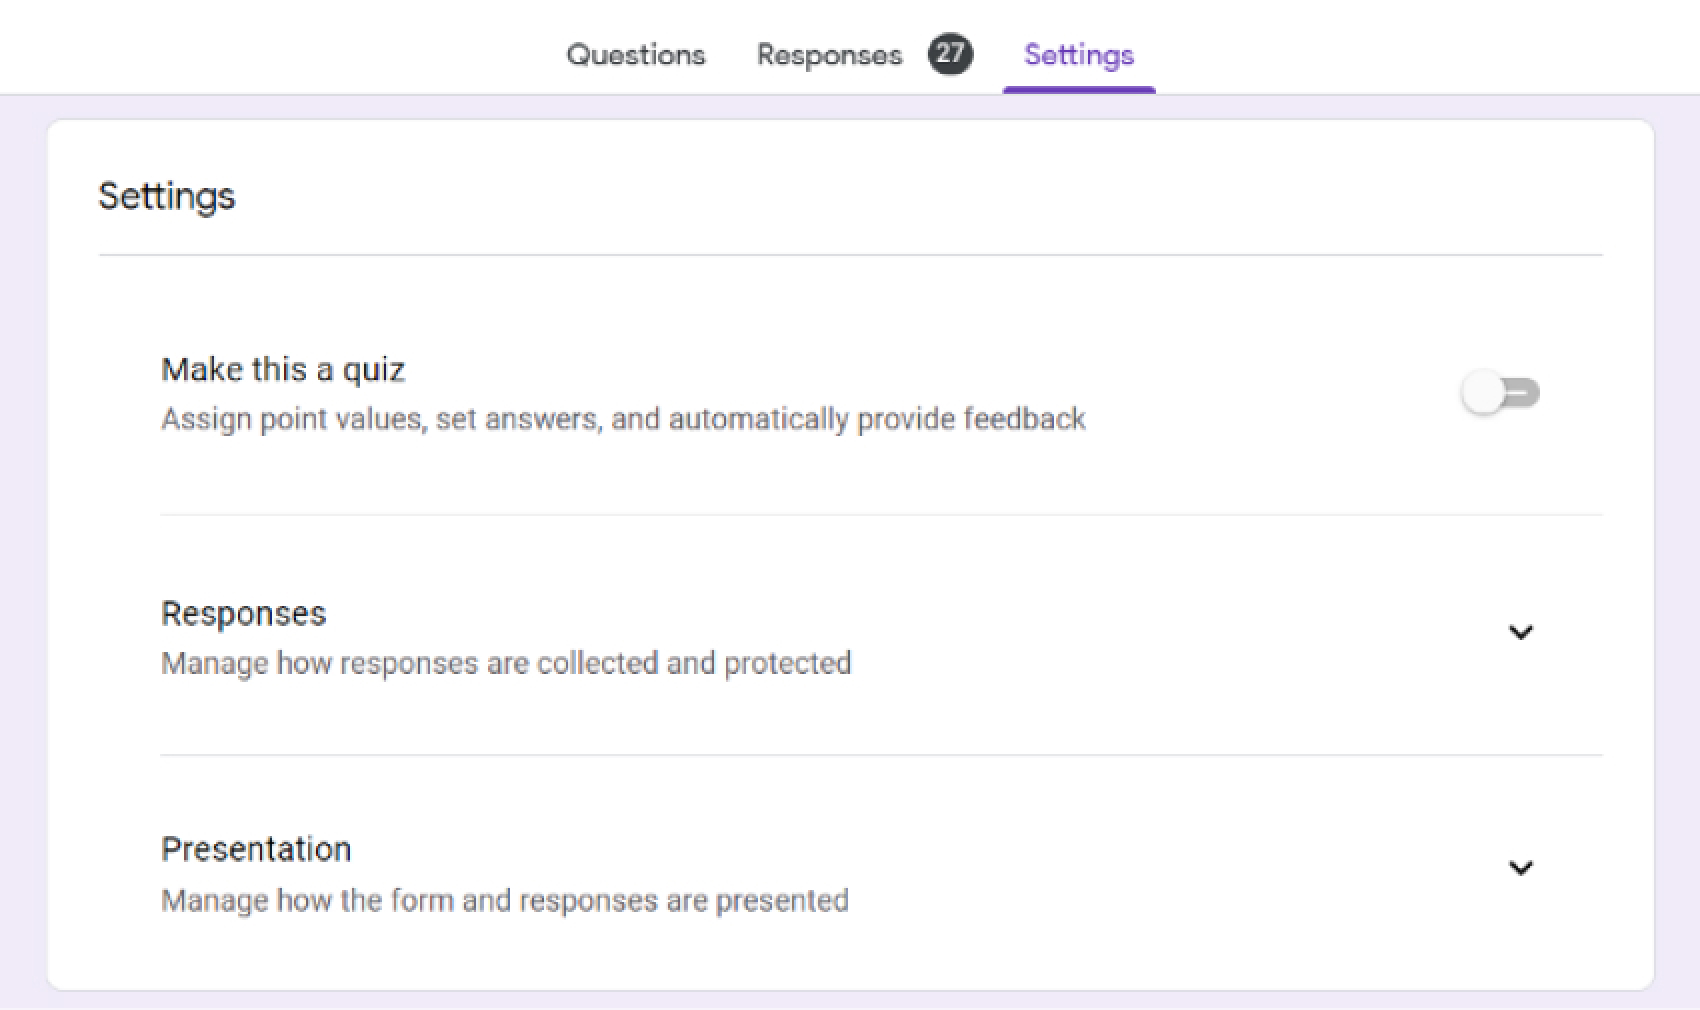
4. Google Forms also allows you to create quizzes to assess the memory retention of your employees or students. Go to Settings in the form you have opened, choose the Quizzes tab, and toggle the switch to Make this a quiz.
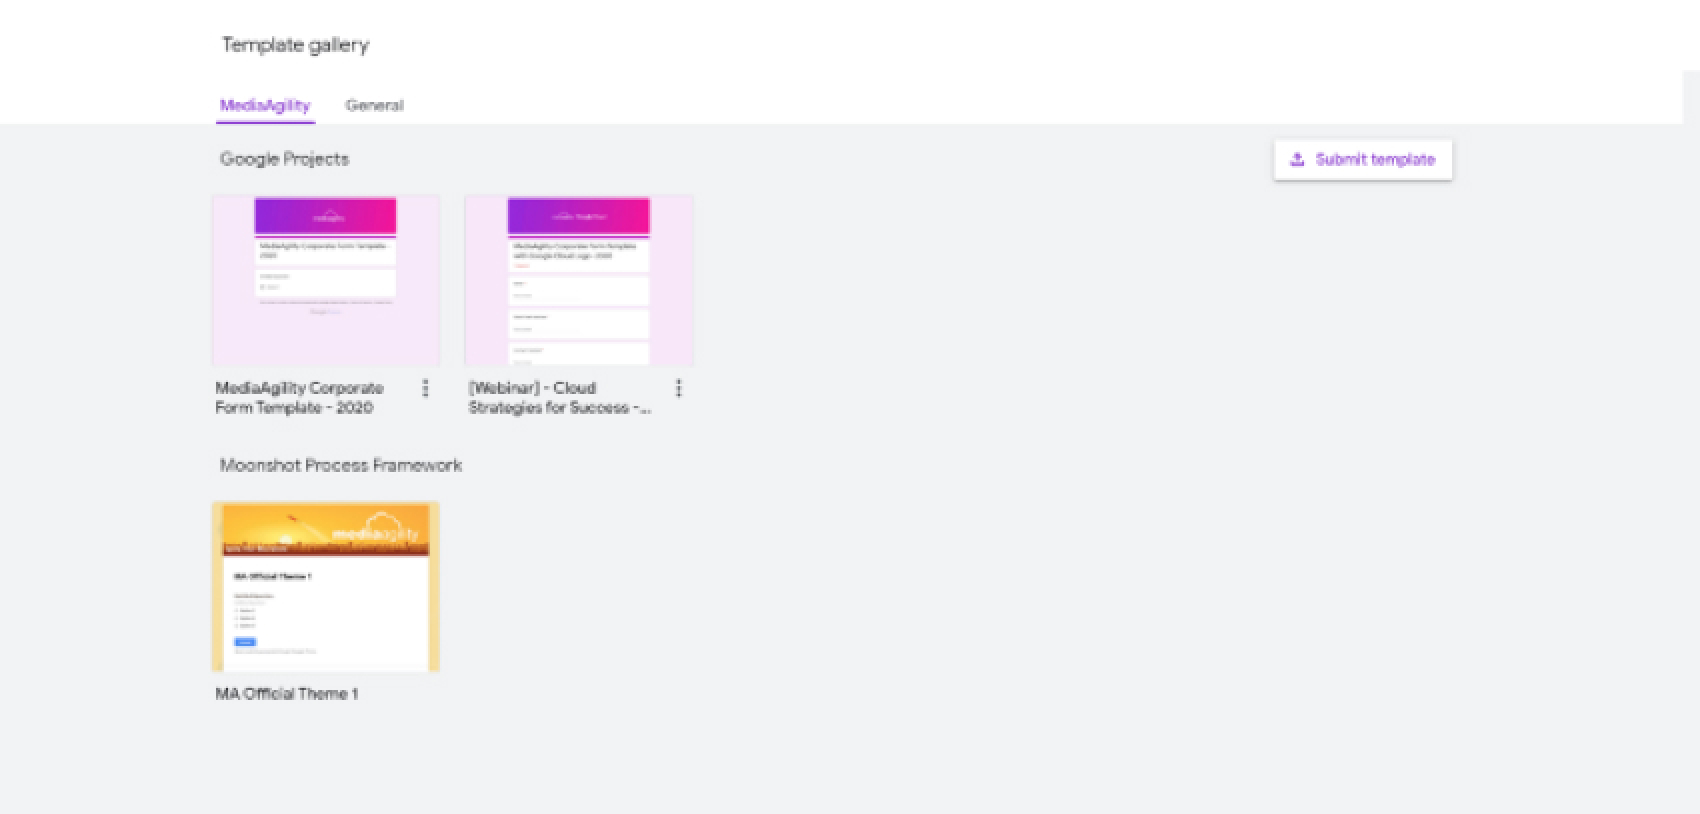
5. Google Forms has another option that lets you form your own custom template. This can be related to an event or the theme of your company’s colors. You can create your own template by going to forms.google.com and selecting Template gallery. There, you will find an option to Submit a template and choose the template you created to add it to the gallery.
Let’s Create a Google Form
Go to forms.google.com and click the big + at the top left of the menu to create a Blank Template. You will experience a user-friendly interface with all basic tools located at the top right corner.
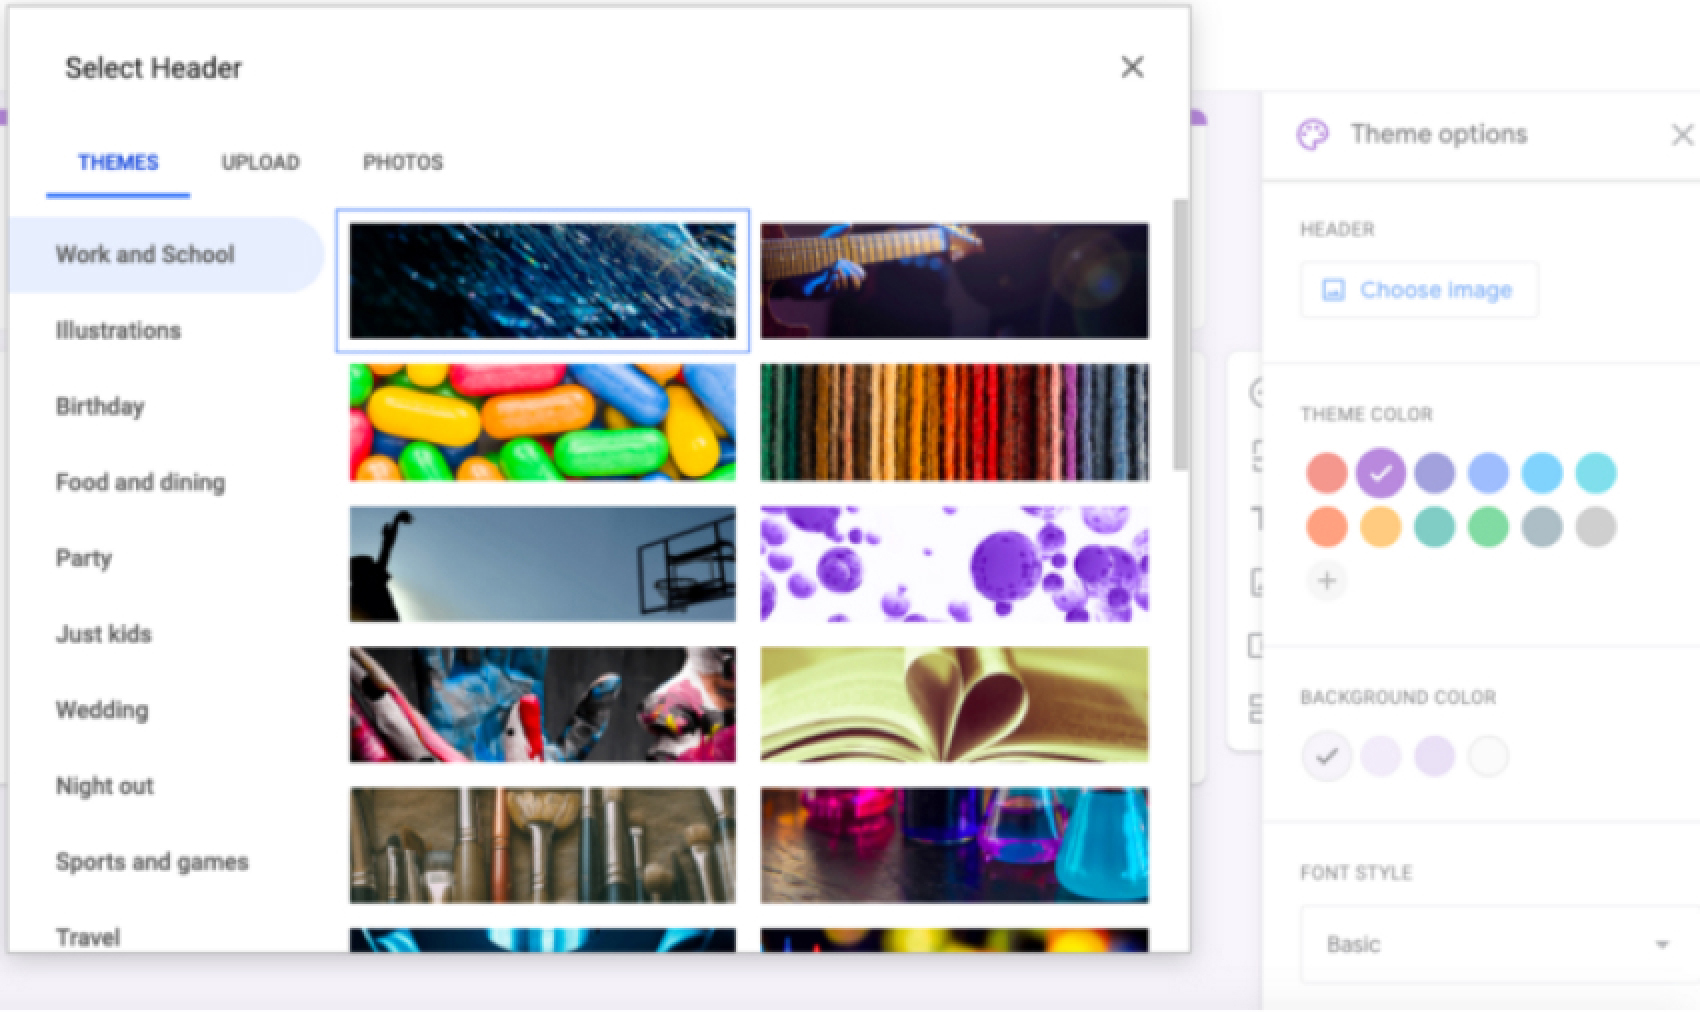
Customize Themes: You can customize your header by inserting images from the gallery and choose theme color, background color, and font style. Customizing the template by applying your corporate images (logo, banner) and colors is also a possibility.
Preview: You can preview your form to ensure that it looks the way you intended it to.
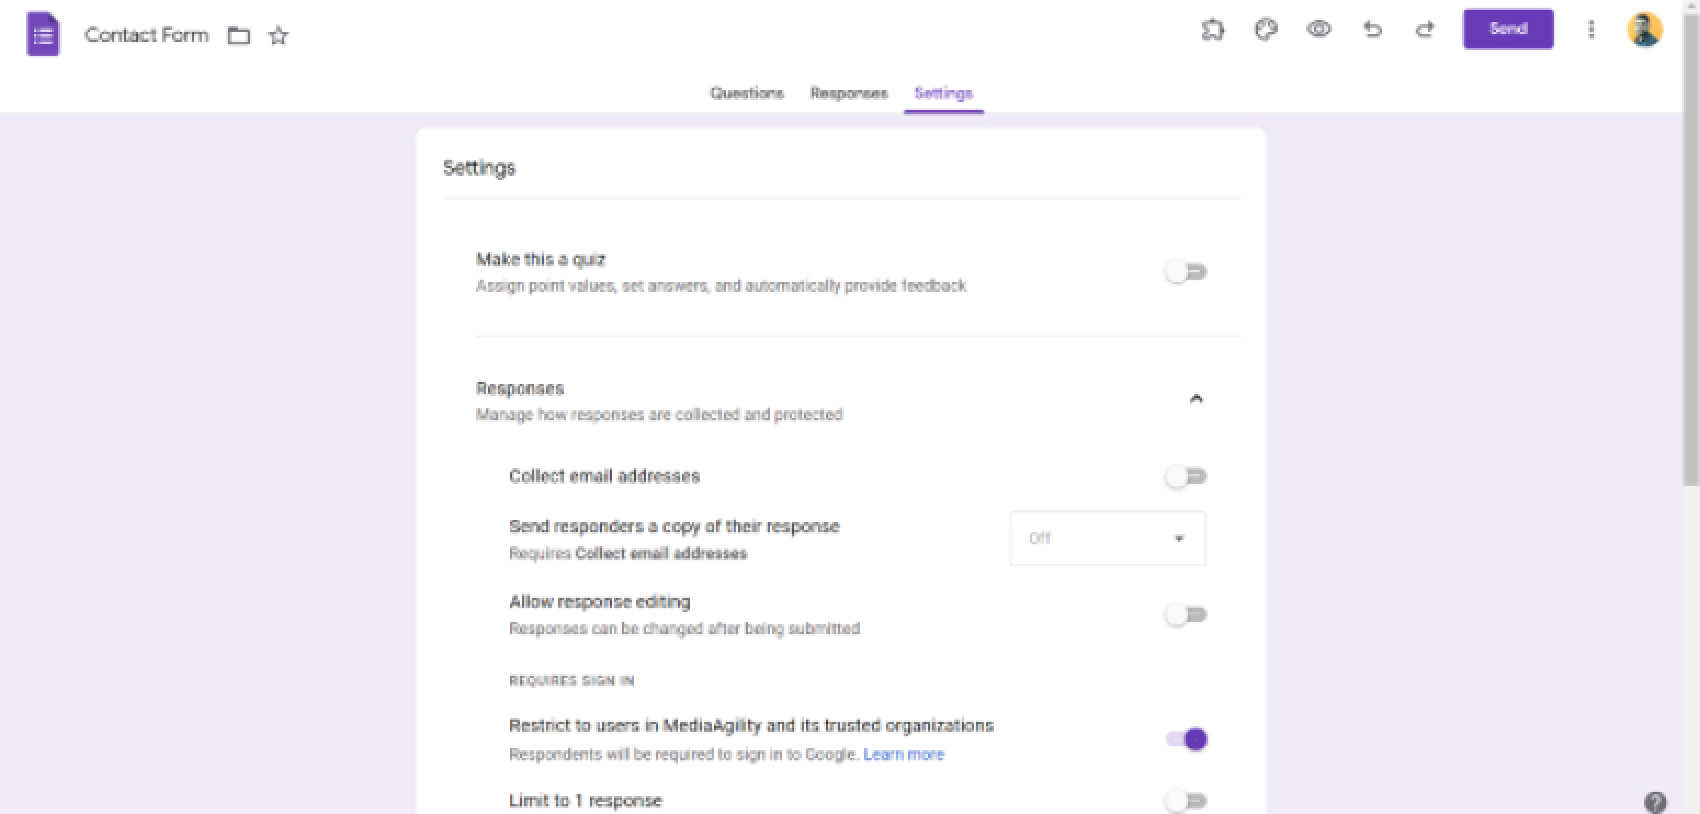
Settings: You will find three options: Make this a quiz, Responses, and Presentation. Let’s see the options under each of these tabs.
1. Responses
- If you want to collect your recipients’ email addresses, tick the corresponding checkbox. By doing this, the user who receives the form would be required to enter their email ID in order to submit the form.
- Built-in Security and Data Loss Prevention settings allow you to restrict external sharing. This ensures that your Forms (and your employees responses) remain safe and secure.
- You can also limit your responses to one response per user, and each user will be able to submit only one response from their Google account
- You have the option to allow your user to edit their responses after submitting them, and see summary charts and text responses from the questionnaire.
2. Presentation: You can also change the look and feel of your presentation.
- You can choose to Show progress bar, which will show the user how much of the form they have filled.
- The Shuffle question order option shuffles the questions each time the form is opened. This is specially useful in case of quizzes, when you don’t want people to cheat. All of them will see a random order of questions.
- You can also choose to display a Confirmation message to the user once they have submitted the form indicating that their response has been recorded.
- If you want more than one response from a candidate, you can choose the Show link to submit another response option.
- The View results summary option allows the respondents to see the results.
- You can even choose to Disable autosave for all respondents so that they cannot get access to their responses once they have submitted them.

3. Make this a quiz: You can use Google Forms to create a quiz. Recipients can see the responses based on the conditions you choose. The options are pretty straightforward. You can choose to show the results immediately after submission or later, during manual review. Respondents can see which questions were answered incorrectly and correctly. You can also control whether you want respondents to see total points and points received for each question. You can choose the Default question point value.

Final Steps
Once you have saved the settings, you will see the main page of the form. After creating the form, you can take advantage of the following features:
- Send: You can send the form via email, as a link, or post it on social media platforms.
- Additional Settings: This option is at the top right corner and you can get access to various actions with the form: make a copy, move to trash, get a pre-filled link, print, add collaborators, and more.

3. Script Editor: If you’re technically sound, you can also take advantage of Script Editor to further automate and leverage the full capabilities of Google Forms.
Features of Google Forms
The beauty of Google Forms is that while using the toolbar on the right side, you can not only create a questionnaire but also insert images, videos and divide the forms in sections. You can add an image directly from your device, camera, Google Drive, etc
If you need to use Google Forms more often, the Import Question option allows you to reuse the same questions from previously created Forms.
You can design your questionnaire to be Multiple Choice, Checkbox, Paragraph, or Dropdown

In the form constructor, all the blocks have common elements:
- Question field and question type list
- Description field (it’s hidden by default, but you can add it using the menu at the bottom right)
- Button for image uploading
- Make a copy and Delete buttons
There is a Required question option, which makes a question mandatory to be answered. Without answering this question, the respondent won’t be able to submit the form.
The linear scale option is used for evaluation. When you want the form filler to give a rating between 1 to 10, you can use the Linear Scale option.
You can also collaborate with your colleagues on Google Forms. Go to Settings at the top right of the page and select Add collaborators. Specify editors from the contact list or configure access parameters.

Adding Google Forms Directly to Email
Google Forms can be sent via email with the link to the form.You can also specify a subject line and add some accompanying text.

Survey Results Analytics
If after you’ve sent the form to the respondents, Google Forms will save the received responses in the Responses tab on the form page by default.

You will find responses in a very insightful way. Data is added in pies and graphs.

You can link your form to Google Sheets for a more detailed analysis. To do this, click the green Create spreadsheet icon or Select response destination in the menu.
Summing Up
Now that you have a powerful feedback tool for your audience, consider how you can get the most out of it. Identify the preferences of your customers or the opinions of your colleagues and use this data to achieve your goals. Choose the right channel for communication and leverage all the features of Google Forms.
Get more information about Google Forms and Google Workspace features. Visit: Google Workspace.


